One of the ways to improve the sound quality of your audio system is to try to connect the receiver to the high, mid, and low frequencies of your speakers separately, i.e., through bi-wiring. Another way to optimize your sound potential is to amplify either high, mid, or low frequencies with the help of bi-amping.
According to many audiophiles, both these AV receiver-speaker connections help to enhance the sound quality. I agree with them, so I prepared this overview to help you understand this topic better and decide whether or not you need these sound enhancement tricks.
Bi-wiring explained

Bi-wiring is a method of connecting speakers to an audio amplifier or receiver using two separate speaker wires for each channel. In a bi-wiring setup, one pair of wires is used to connect the amplifier’s high-frequency output to the speaker’s tweeter, while another pair is used to connect the amplifier’s low-frequency output to the speaker’s woofer.
The theory behind bi-wiring is that separating the high and low-frequency signals will result in better sound quality by reducing interference and allowing each driver to operate independently.
Separately, I would like to point out that not all speakers support bi-wiring, and it typically requires a speaker with at least two sets of binding posts.
Bi-amping explained

Bi-amping is a method of connecting speakers to an audio amplifier or receiver using two separate amplifiers for each channel. In a bi-amping setup, one amplifier is used to power the speaker’s tweeter or high-frequency driver, while another amplifier is used to power the speaker’s woofer or low-frequency driver.
The idea of this approach is similar to bi-wiring in that it aims to improve sound quality by separating the high and low-frequency signals. Using separate amplifiers, each driver can be powered independently with a dedicated amplifier optimized for that driver’s specific frequency range. This can result in improved clarity, detail, and dynamics, especially at higher volumes.
Comparing bi-wiring and bi-amping
The difference between the two sound improvement techniques seems to be easy to understand and even evident. Still, there’s room for bewilderment, anyway. The table below is to eliminate any chance of its appearance.
| Bi-wiring | Bi-amping | |
|---|---|---|
| Number of amplifiers used | 1 | 2 |
| Number of inputs used | 2 – one for each frequency | 1 – to connect to a certain frequency for each amplifier |
In general, in the bi-amping vs. bi-wiring battle, the first sound improvement method, i.e., bi-amping, is considered a more effective technique, as it allows for greater control over the sound. However, bi-amping requires more equipment and can be more expensive than bi-wiring.
Essential tips for unlocking your AV receiver’s full potential

Your audio system won’t show you its best sound just because you know where the “turn on” button is. You need to know your system better, particularly how to make the proper connections and which cables to choose.
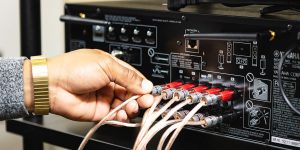
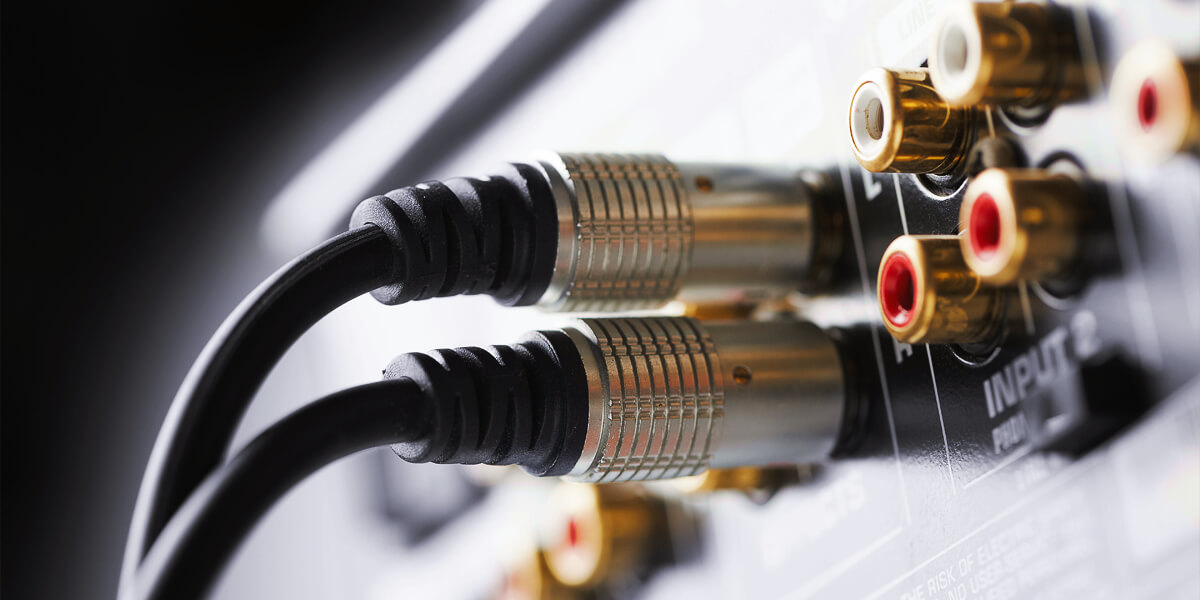
Choosing the right cables and connectors
Choosing the right cables and connectors for your AV receiver is not simple, as tons of cables and connectors are available on the market. However, here are some factors which I advise you to consider when making your choice:
- Check the user manual for your AV receiver to determine which types of connections it supports, such as HDMI, RCA, optical, coaxial, or speaker wire connections.
- When optimizing your AV receiver setup, make sure the cables and connectors you choose match the type of connections your AVR and other components support.
- Consider the length of the cables you need. Measure the distance between your AV receiver and the other components, and choose cables that are long enough to reach without excess slack. Avoid cables that are too short, as they may not reach, and cables that are too long, as they can cause signal degradation.
- Look for quality cables and connectors. Higher-quality cables and connectors can provide better signal transfer and reduce interference, resulting in better sound and picture quality. Look for cables with gold-plated connectors, which can help prevent corrosion, provide a better connection, and generally contribute to your home theater system optimization.
- Consider your budget. Cables and connectors can vary in price, so consider your budget when making your selection. Remember that while higher-priced cables may offer better quality, you may not need to invest in the most expensive options if you’re on a tight budget.
How to calibrate and place speakers properly?
Calibrating and placing speakers properly can also significantly enhance your listening experience. Here are some steps to follow:
- Speaker Placement: Start by placing your speakers at the right height and distance from your listening position. The ideal height for most speakers is at ear level when you’re seated. The distance between your speakers should also be equal to the distance between the speakers and your listening position, forming an equilateral triangle. Additionally, speakers should be placed away from walls and corners to reduce reflections and resonance.
- Calibrating Speaker Levels: Most receivers have an auto-calibration feature that can automatically detect and adjust the speaker levels. If your receiver doesn’t have this feature, you can use an SPL meter to manually calibrate your speakers. Play test tones through each speaker and adjust the volume until the sound level is the same for all speakers.
- Setting Speaker Distance and Delay: The distance between each speaker and the listening position can also be set manually. This helps to ensure that the sound arrives at the listener’s ears at the same time. Most receivers have a setting that allows you to set the distance and delay for each speaker.
- Adjusting the Subwoofer: The subwoofer’s placement can significantly affect the bass response. Experiment with different locations to find the best spot for your subwoofer. Also, adjust the crossover frequency, which determines the frequency range the subwoofer handles, to ensure that it blends seamlessly with the other speakers.
- Fine-tuning EQ: Finally, you can fine-tune the sound by using an equalizer (EQ) to adjust the frequency response of your speakers. Many receivers have built-in EQ, but you can also use an external EQ.
In summary, proper speaker placement, calibration, and EQ adjustments can significantly improve your listening experience. Take your time and experiment with different settings to find the optimal setup for your room and equipment.
FAQ
Can any AV receiver support bi-amping and bi-wiring?
Not all AVR models support those techniques for enhancing sound. An AV receiver must have two separate sets of outputs for high- and low-frequency ranges. That’s why, before making a purchase, examine attentively the features of the chosen device.
Is it necessary to have both bi-amping and bi-wiring?
No, there’s no necessity for it. Moreover, simultaneous bi-wiring and bi-amping are not possible due to the limited number of inputs on speakers and, secondly, because of the absence of any sense in using these two techniques simultaneously.
What are the most common mistakes when setting up bi-amping or bi-wiring?
These include incorrectly wiring speakers, choosing the wrong cables, mismatching and overdriving amplifiers, and wrongly configuring the receiver.
Do bi-amping and bi-wiring really improve sound quality?
Yes, these technologies can indeed improve sound quality. However, this improvement may not be too significant, so only experienced audiophiles can perceive it.