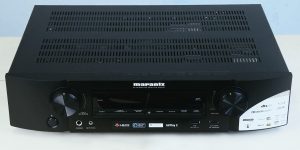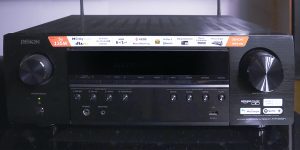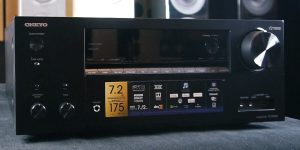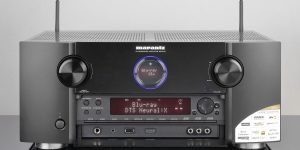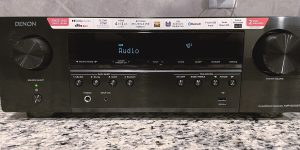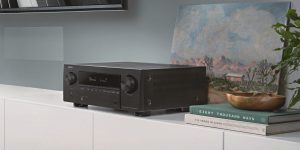
An AV receiver is not only the most important component of any home theater system but also the most complex. Therefore, its correct setting plays an important role. Without proper calibration and configuration, the audio and video output can be subpar and fail to deliver an immersive viewing experience. That’s why it’s important to pay attention to AV receiver setup and ensure that it’s optimized for your space and preferences.
Unfortunately, many people may not even be aware that they’re making some mistakes, which can significantly impact the quality of their audio and video output. These violations can range from improper placement and calibration of speakers to incorrect wiring and poor ventilation.
Good news: I’ll walk you through the steps involved in AVR setup and calibration in this comprehensive guide. From choosing the right cables and configuring your speaker system to optimizing your settings receiver and tweaking your sound, I’ll cover everything you need to know to get the most out of your device.
Essential settings: optimizing your AV receiver for maximum performance
In this section, we’ll dive into the essential settings you’ll need to configure on your AV receiver to ensure maximum performance. Whether you’re a seasoned audiophile or just getting started, my tips and tricks will help you take your home theater experience to the next level.
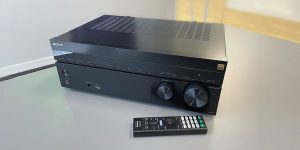
Ideal placement and positioning of AV receiver: tips and tricks
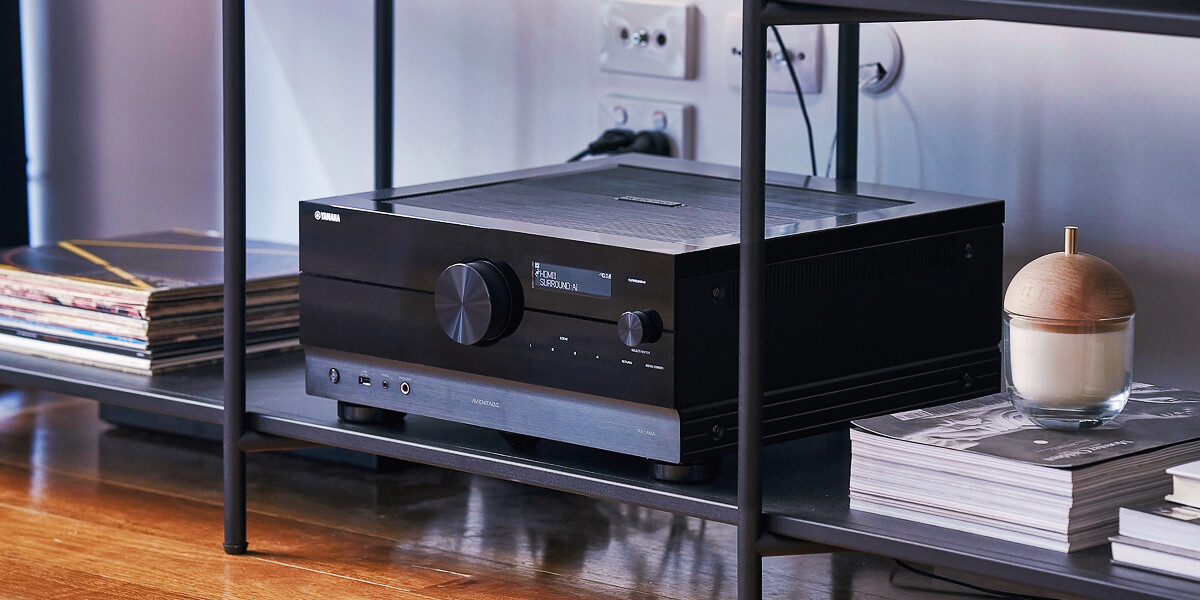
Configuring and positioning an AV receiver is a critical step in ensuring the best possible audio and video output from your home theater system. Here are some tips and tricks to help you find the ideal spot for your unit and optimize your receiver connection:
| Step | Action | Description |
|---|---|---|
| 1 | Keep it cool | I highly recommend keeping your AVR in a well-ventilated area to prevent overheating, which can cause damage to your equipment. |
| 2 | Avoid enclosed spaces | Avoid placing your media center in an enclosed space, such as a cabinet or a shelf. This can restrict airflow and cause your equipment to overheat. |
| 3 | Avoid direct sunlight | I advise you to keep it away from direct sunlight or other heat sources, which can also cause overheating. |
| 4 | Keep it close | Keep your AV receiver close to your TV or other devices it will be connected to avoid signal degradation and loss. |
| 5 | Optimize your connections | Use high-quality HDMI cables and ensure that your connections are secure and properly plugged in. This will help ensure a stable and reliable connection between your unit and other devices. |
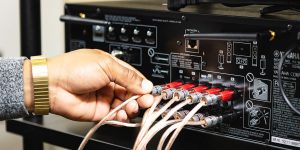
How to connect speakers to your AV receiver

Here’s a step-by-step guide on how to connect your speakers to your AV device:
- Identify the speaker outputs on your AV receiver: Look for the speaker output terminals on the back of your media center. There will typically be terminals for left and right front speakers, left and right surround speakers, and a center speaker.
- Connect the speaker wires: In my professional opinion, it’s important to use high-quality speaker wires to connect your speakers to the appropriate terminals on your device. Make sure to match the positive and negative terminals correctly.
- Configure your speaker settings: Using your model’s menu, make sure the speakers are properly calibrated for your room and listening preferences.
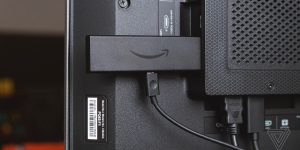
Connecting your devices to your AV receiver tv gaming consoles and more
Your TV, gaming consoles, and Blu-ray players can be connected to an AV receiver. Here are some home theater configuration tips I’d recommend for properly connecting your devices to your AV equipment:
Identify the input sources.
Look for the input sources on the back of your model. There will typically be inputs for HDMI, optical, and coaxial cables.
Connect your devices.
Use high-quality cables to connect your devices to the appropriate inputs in your media center. Make sure to select the correct input on your AV receiver to ensure that you’re receiving the signal from the right source.
Configure your settings.
Once your devices are connected, you’ll need to configure the settings on your AV receiver to ensure that you’re getting the correct audio and video output from your devices.
Now that you have connected your devices to your AV receiver, it’s time to focus on optimizing your audio setup.
Setting up your speaker system tips and tricks

Setting speaker distances and levels
You’ll need to first identify the optimal placement of each speaker. From my experience, the best way to do it is to place them at equal distances from the listening position and the ear level. However, the exact placement will depend on the size and shape of your room, as well as the specific speaker configuration you have chosen.
Once you have determined the ideal placement for your speakers, you can adjust their levels to ensure the sound is balanced and consistent across all channels. Your home theater receiver will typically have a built-in calibration tool to help you set the correct levels for each speaker.
I have used various calibration systems, including Audyssey, YPAO, and MCACC. They all work by analyzing the acoustic characteristics of your room and making adjustments to the receiver’s settings accordingly.
Adjusting crossover settings
To adjust the crossover setting, you’ll need to access the menu on your AV equipment. Look for the option to adjust the speaker settings, and then locate the crossover setting. You can adjust the crossover setting by selecting a frequency range, typically measured in hertz (Hz), that you want to send to the subwoofer. Based on my experience, the perfect range for a subwoofer is between 80Hz and 120Hz.
It’s important to note that the ideal crossover setting may vary depending on your specific speakers and room acoustics. Therefore, I’d recommend you experiment with different settings to find the optimal option for your system.
Configuring surround sound modes
Surround sound technology creates an audio environment where sounds come from all around the listener, instead of just from the front, as with traditional stereo systems. Surround sound speaker setup will take your device’s sound to a whole new level.
Many modern receivers support various surround sound formats such as Dolby Atmos, DTS:X, Auro-3D, and others. Each of these modes has its own unique features and capabilities.
As someone who has worked in this area, I could claim that for surround sound, it is also important to consider the shape of the room, as well as speaker placement and setup.
Optimizing your sound room specific audio settings

Utilizing built in room correction systems
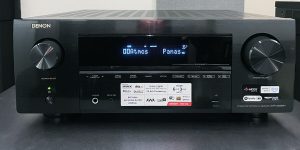
AV receivers often come with built-in room-correction systems that use different algorithms to optimize audio output based on the room’s characteristics. These systems can automatically adjust the receiver’s settings, such as equalization and speaker distance and levels, to deliver optimal sound quality.
I will share more details about the most famous built-in room-correction systems: Yamaha’s YPAO, Audyssey’s MultEQ, and Pioneer’s MCACC.
- YPAO (Yamaha Parametric Acoustic Optimizer) uses a microphone to measure various sound parameters, such as speaker distance, frequency response, and sound reflections and then adjusts the EQ (equalization) settings of your AV receiver to create a more balanced and accurate sound output.
- Audyssey is a suite of audio technologies developed by the company of the same name. It includes various features such as Dynamic EQ, which maintains a consistent sound balance at low volume levels, and Dynamic Volume, which reduces sudden volume fluctuations in commercials or action scenes.
- MultEQ can measure up to eight listening positions in a room and take into account the position of the speakers to make precise adjustments. MultEQ is commonly found in high-end AV receivers and sound systems.
- Multi-Channel Acoustic Calibration System (MCACC) includes features like phase control and standing wave control to further improve sound quality. It is commonly found in Pioneer’s home theater receivers and sound systems.
Working with many of these systems, I cannot single out a leader or an outsider. Each of them has its own characteristics, advantages, and disadvantages.
Manual calibration techniques
Manual techniques can also be effective for those who want a more hands-on approach to calibration. Manual calibration involves adjusting the receiver’s settings, such as speaker distance, levels, and equalization, by hand to optimize the sound quality.
To manually calibrate your receiver, you’ll need to use a sound meter and follow a step-by-step guide provided in your receiver’s manual. This method requires technical knowledge and patience but can be rewarding for those who want more control over their sound system. However, this procedure is more suitable for experienced audiophiles, and it will be difficult for beginners to adjust the optimal sound quality manually.
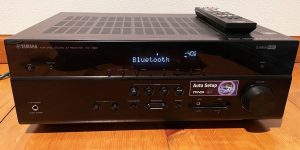
Connecting your home theater to the internet and streaming services

To connect your AV receiver to the internet, you’ll need an Ethernet cable or a Wi-Fi connection. Many modern home theater receivers have built-in Wi-Fi, making it easy to connect to your home network without cables.
Once connected to the internet, you can configure streaming services such as Spotify, Tidal, or Pandora. Many receivers have built-in support for these services, or you can use an external device such as a Chromecast or Apple TV to stream audio.
If you have multiple rooms in your home and want to stream audio to each room independently, there are a few options for a multiroom audio setup. Some AV devices support multiroom audio natively, allowing you to play different audio sources in each room. Alternatively, you can use dedicated multi-room audio systems such as Sonos or Bluesound, which integrate with your AV unit and allow seamless streaming across multiple rooms.