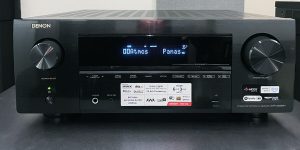
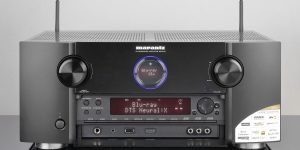
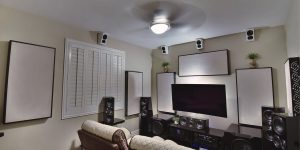
So, you are the happy owner of new audio/video equipment, and are you wondering now how to connect the receiver to a TV? While HDMI is usually the go-to option, it’s not always available or feasible. That’s why I’ve written this article to show you different ways to hook up your receiver with a TV. No matter your experience level, I’ve got you covered with instructions to make the setup process smooth and easy.
Connecting via HDMI
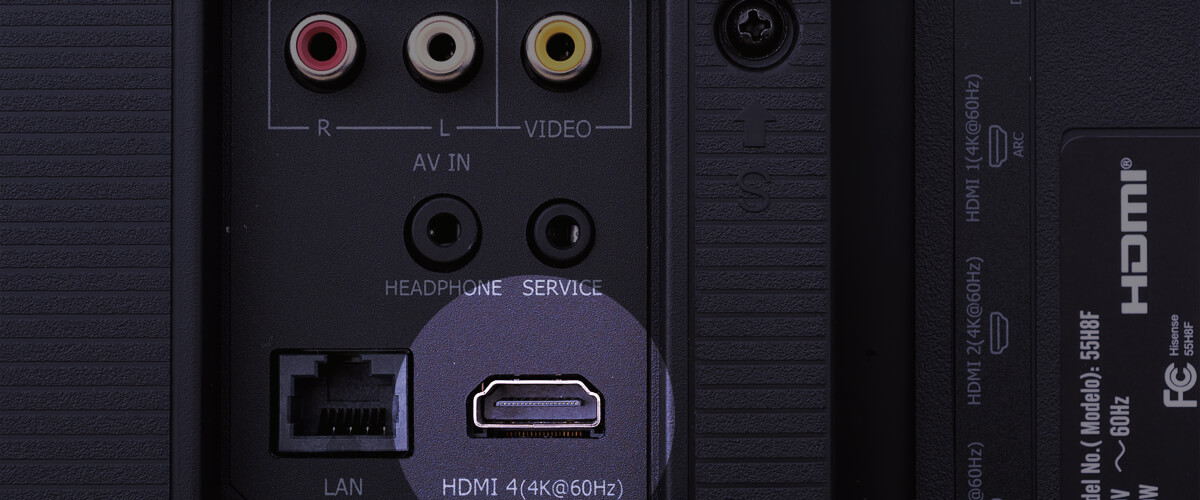
HDMI is the go-to method for linking your AV receiver to a TV. With HDMI, you get top-notch digital video and sound all in one cable. It’s the ultimate choice for a real cinema experience in your living room.
| Advantages | Disadvantages |
|---|---|
| High-quality digital signal transmission ensures excellent picture and audio quality. | HDMI cables can be more expensive than other analog cables. |
| Supports resolutions up to 4K and refresh rates up to 120Hz. And with the latest HDMI 2.1 specification, we can now look forward to even higher resolutions and refresh rates, including 8K at 60Hz. | Limited length for HDMI cables, typically up to 50 feet. |
| Can transmit audio signals up to 8 channels, including Dolby Atmos and DTS:X. | |
| Simple setup with only one cable required. |
Step-by-step instructions:
- Identify the HDMI ports on both the TV and AVR. Most devices have multiple HDMI ports.
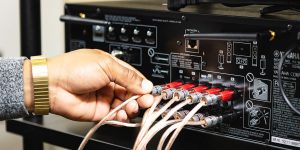
- Plug one end of the HDMI cable into the HDMI port on the AVR and the other end into the HDMI port on the TV.
- Make sure to select the correct HDMI input on the TV.
- Turn both devices on and set the TV to the correct input.
- In some cases, the sound may not transmit correctly through HDMI. In this situation, you can use an optical or analog audio uniting.
In my opinion, HDMI is the way to go when it comes to hooking up your AVR to a TV. But if your TV doesn’t have an HDMI input, don’t sweat it! Further, I’ll also show you how to connect an AVR to your TV without HDMI, so you can still have awesome sound while watching your favorite movies and shows.
Connecting via component/composite
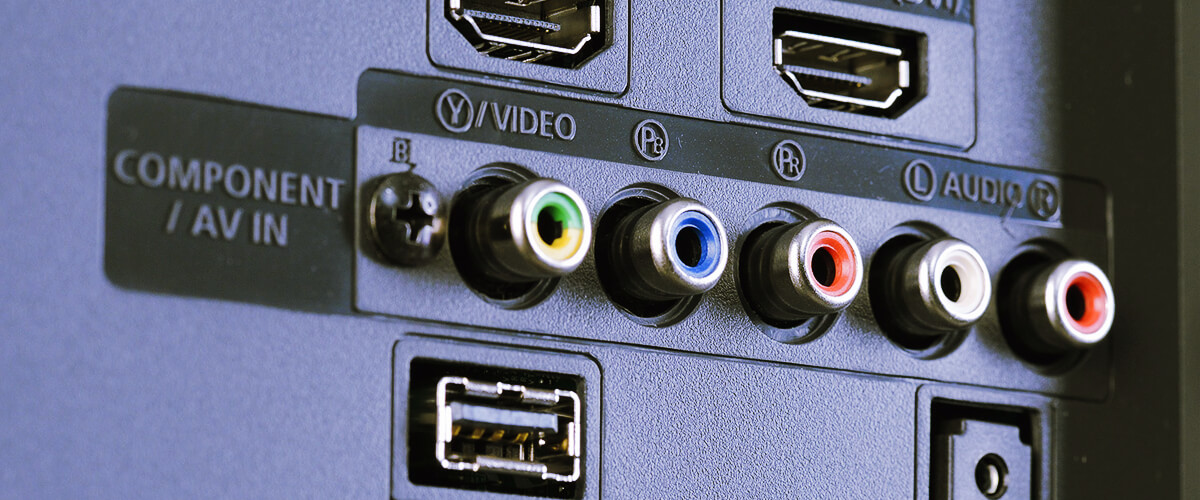
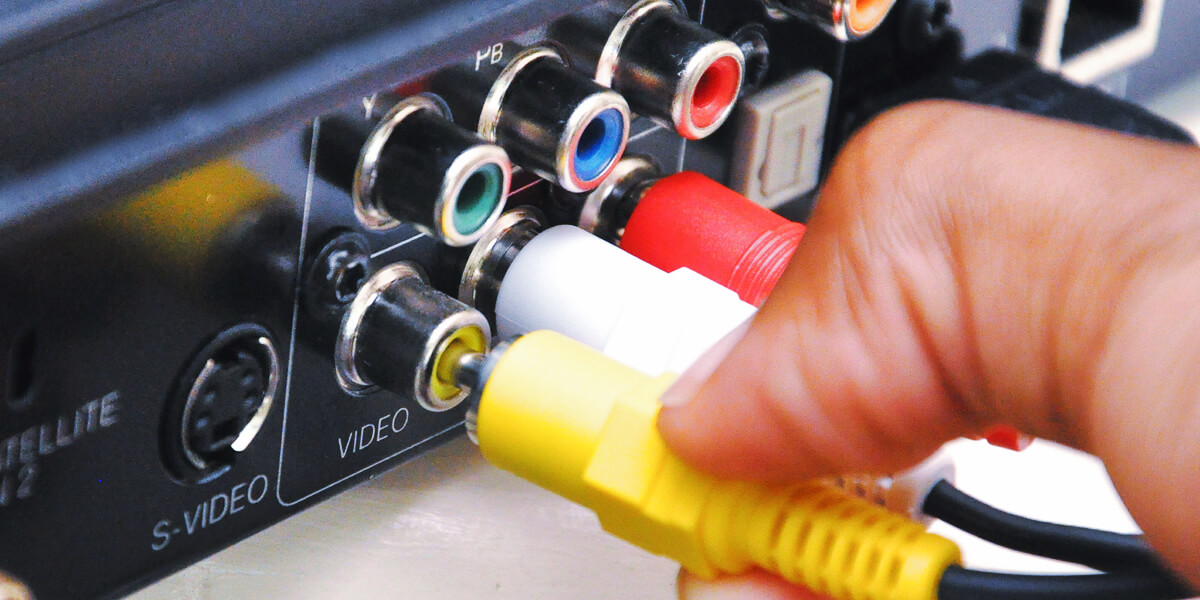
Connecting an AV receiver to a TV using component and composite cables is an analog signal transmission method. While HDMI is the standard digital interface for sound and video transmission, component and composite cables are still used for older devices or when HDMI is unavailable.
| Advantages | Disadvantages |
|---|---|
| Transmits high-quality video signals up to 1080p (component) or 480i (composite) | Analog signal transmission may result in a lower-quality picture and sound than digital hookups |
| Can be a cheaper option than HDMI cables | Multiple cables are required for component hookups |
| Can transmit sound signals | Limited resolution for composite cables |
Step-by-step instructions:
- Identify the component or composite ports on both the TV and AVR.
- Plug the red, green, and blue component cables or yellow composite cable into the corresponding ports on both devices.
- Hook up the audio cables (red and white) to the audio ports on both devices to establish the connection.
- Make sure that the device is set to the right input.
- Turn on both devices and adjust the settings for optimal picture and sound quality.
While HDMI is the best option for connecting an AV receiver to a TV, component and composite hookups can still be useful in certain situations.
Connecting via optical audio (TOSLINK)
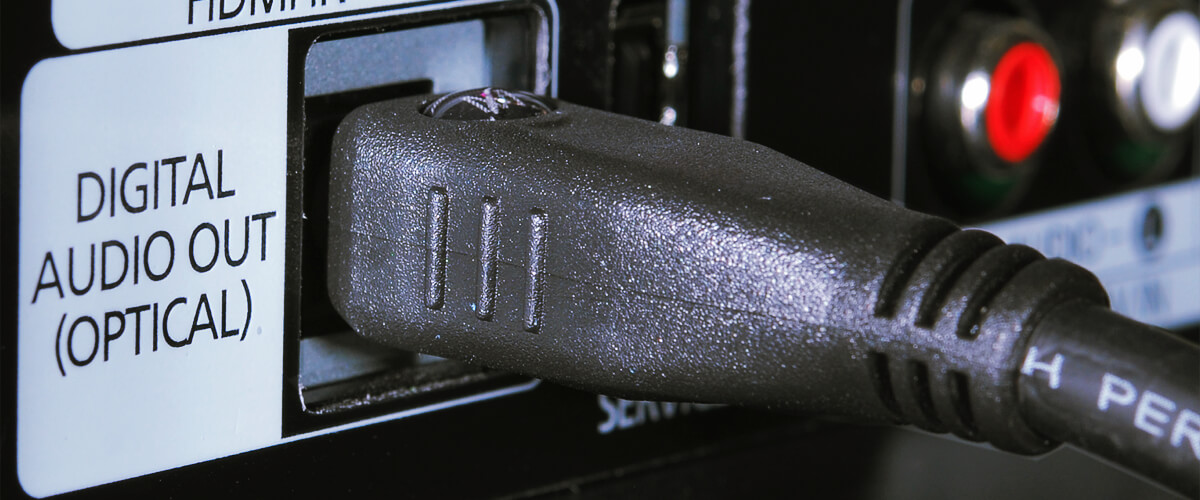
Optical audio, or TOSLINK/S/PDIF, is a digital sound hookup that’s often used for home entertainment systems and other audio gear. Using an optical audio connection is a great option for those looking to hook up their TV to a receiver. It delivers superior digital audio between the devices, which means your sound will be clear and crisp.
| Advantages | Disadvantages |
|---|---|
| Delivers high-fidelity digital sound with unmatched quality | More expensive than analog hookups |
| Minimizes signal interference and noise for a pure listening experience | Requires a separate cable for video transmission |
| Supports the transmission of immersive surround sound formats (up to 5.1 or 7.1 channels) |
Step-by-step instructions:
- Identify the optical audio port on both the TV and receiver.
- Insert one end of the optical cable into the port on the TV and the other end into the port on the receiver.
- Make sure to select the correct input on the receiver.
- Turn on both devices and adjust the settings for optimal sound quality.
So, linking up your home theater system using optical sound is an excellent option to achieve crystal-clear digital sound transmission without any interference.
Connecting via analog audio (RCA)
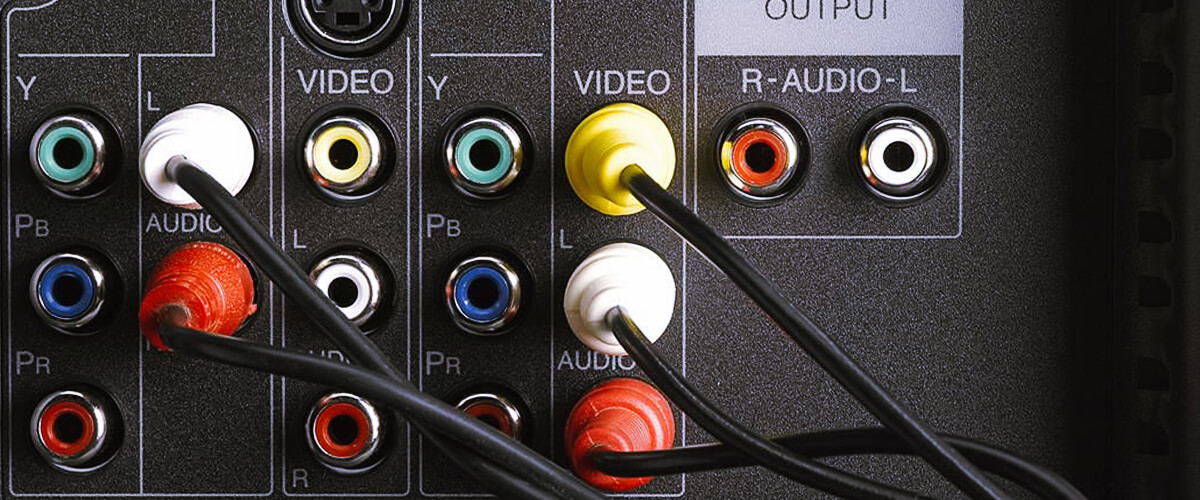
Connecting TV to receiver using analog audio (RCA) is another method of linking them that can be useful when digital interfaces are not available or when using older devices.
| Advantages | Disadvantages |
|---|---|
| Simple connection and availability of cables | Analog signal transmission may result in lower-quality sound and video than digital hookups |
| Can transmit stereo sound | RCA cables may create interference and noise, especially when using long cables |
Step-by-step instructions:
- Identify the RCA ports on both the TV and the AVR.
- Connect an RCA cable to the ports on both devices. They typically come in red and white colors for left and right audio.
- Ensure that the correct input is selected on the device.
- Turn on both devices and adjust for optimal sound quality.
RCA hookups can come in handy in certain situations, but for superior audio and sound quality, digital interfaces like HDMI or optical audio are the way to go.
Whether you choose to use HDMI, optical, or analog audio, each method has advantages and can enhance your home entertainment experience. With the tips and tricks I’ve shared, you’ll be able to set up your home theater system and start enjoying your favorite movies and TV shows in no time!

